Hydrodipping
- Kora Elizabeth
- Sep 16, 2020
- 1 min read

Updated: Sep 16, 2020
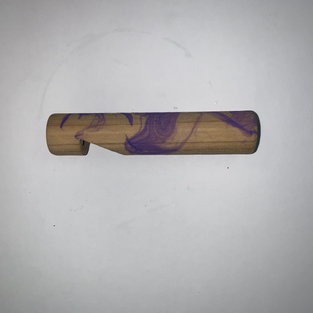
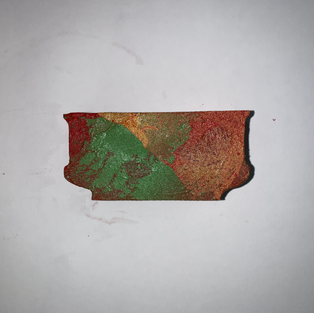
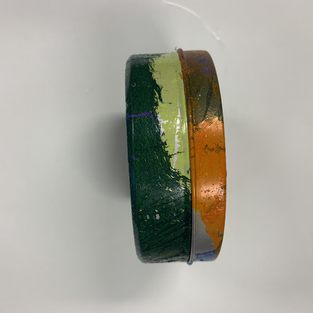
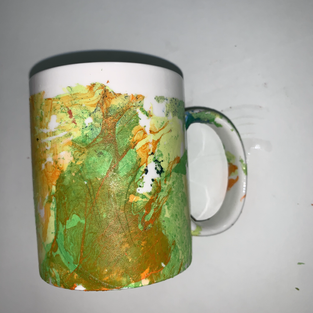
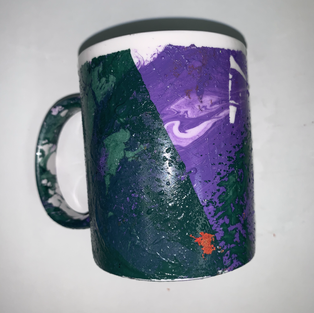
These are some examples of objected that I hydrodipped. The process of hydrodipping is simple, the only materials necessary include a bucket of water, various spray paints, gloves, a stick and of course the object you intend to hydrodipp. To create objects that look like this, first go to an open area with a large bucket full of warm water. Spray a thin layer of the spray paints into the bucket. Using gloves place the object in the water scooping up the colors on the surface, and finally let it dry. If you are attempting to do this multiple times then use a stick to pickup the remaining spray paint after each time. This process was entertaining and marveling at the finished project was magical. I learned in this process that some materials adhere to the spray paint easier than others, and make sure to clean the surface after every try so the paint doesn't get too thick and peel off. I liked using multiple colors of spray paint on my first dip and often dipping the object twice for a layered effect.


Comments